Replacing a garage door seal may seem like a minor maintenance task, but it plays a major role in protecting your garage from dirt, pests, water, and temperature changes. Over time, even the best-quality garage door seals wear out due to daily use and exposure to the elements. When that happens, small gaps can form at the bottom of your garage door, allowing rainwater to seep in, cold air to escape, or even insects and rodents to make their way inside. These seemingly small issues can lead to bigger problems like moisture damage, higher energy bills, and a less secure garage environment.
Whether you’re dealing with a cracked, flattened seal or simply want to upgrade to a more weather-resistant option, replacing it is a smart and cost-effective home improvement task. The best part? It’s a job many homeowners can do themselves with just a bit of time and the right set of tools. This guide will walk you through exactly what tools you need to replace a garage door seal, and how to use them effectively to ensure a tight, long-lasting fit that keeps your garage clean, insulated, and secure.
Why Replacing Your Garage Door Seal Matters
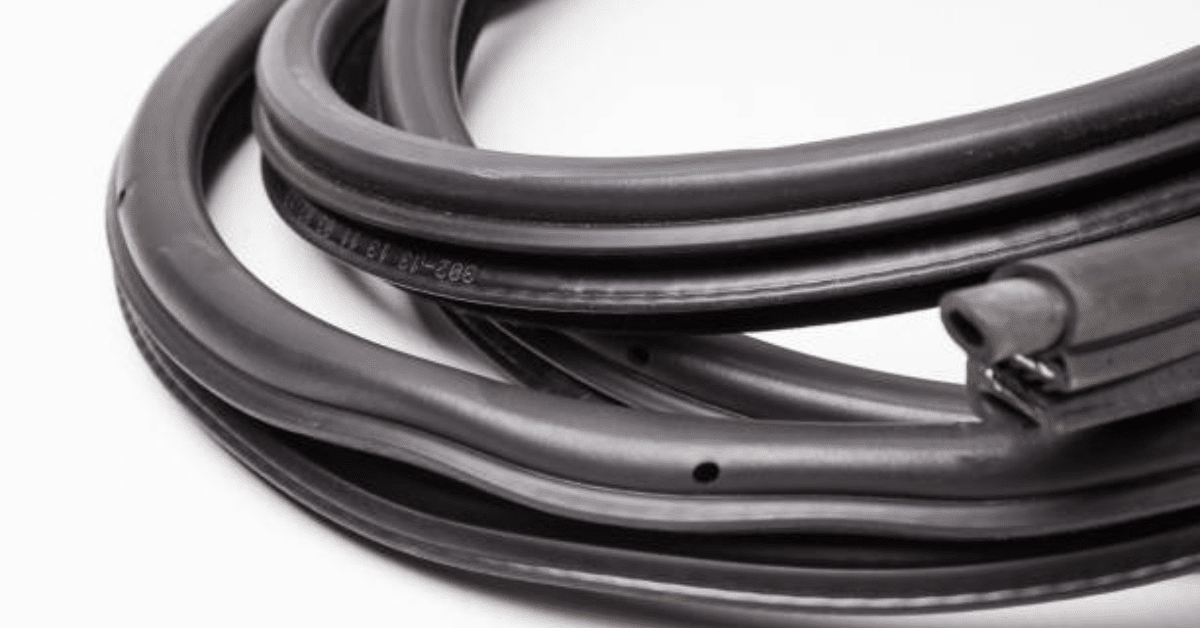
The garage door bottom seal, also known as the garage door weather seal, is a strip of rubber or vinyl attached to the bottom of your door. Over time, due to regular wear and exposure to weather, it can crack, shrink, or fall off completely. A damaged seal lets in cold air, rainwater, dust, insects, and even rodents—compromising the cleanliness, insulation, and energy efficiency of your garage.
Replacing it not only improves insulation but also extends the life of your garage door and makes your home more secure. It’s a task most homeowners can handle themselves, provided they have the right set of tools.
What Tools Do You Need to Replace a Garage Door Seal?
Before starting your seal replacement project, it’s essential to gather all necessary tools. Here’s a closer look at what you’ll need and why each tool is important:
1. Measuring Tape
One of the first steps is to measure the width of your garage door to ensure you purchase the correct size seal. A measuring tape helps you get accurate measurements so you don’t end up with a seal that’s too short or too long.
2. Flathead Screwdriver or Pry Bar
To remove the old garage door seal, you’ll need a flathead screwdriver or a small pry bar. These tools help you lift the old seal out of its track or gently detach it from where it’s nailed or stapled.
3. Utility Knife
A sharp utility knife is crucial for cutting the new garage door seal to the correct length. It also helps in trimming any excess rubber or vinyl, ensuring a perfect fit along the bottom edge.
4. Pliers
Pliers can help pull out any staples, nails, or screws holding the old seal in place. They also come in handy when aligning or pulling the new seal into a tight track.
5. Cordless Drill or Screwdriver
If your garage door seal is secured with screws, a cordless drill or manual screwdriver is essential for removing and reattaching them. A drill speeds up the process and ensures tight, even installation when securing the new seal.
6. Hammer
If nails were used to install the previous seal, you’ll need a hammer to remove them and to possibly drive in new fasteners if required during installation.
7. Garage Door Seal (Replacement)
While not a tool, having the right garage door bottom seal replacement is key. Be sure to choose a compatible type—T-style, bead-style, or bulb-style—based on your door’s track system. Always check your garage door manual or existing track design before purchasing.
8. Lubricant or Soap Solution
Sometimes, inserting a new seal into a narrow track can be challenging. A mild soap solution or silicone lubricant can ease the process, allowing the seal to slide in smoothly without tearing.
Step-by-Step Guide to Replacing a Garage Door Seal
Once you have the tools in hand, replacing your garage door seal can be a straightforward process. Here’s a simplified overview:
- Open the garage door fully to allow safe access to the bottom edge.
- Remove the old seal using a flathead screwdriver, pliers, or a pry bar.
- Clean the seal track or bottom edge with a cloth to remove dust, rust, or old adhesive.
- Measure and cut the new garage door seal to match the width of your door.
- Insert the new seal into the track or align it to the bottom edge using the appropriate installation method.
- Secure the new seal with screws or nails if required.
- Close the garage door to check the seal fit. Make sure there are no gaps between the door and the floor.
Additional Tips for a Smooth Seal Replacement
- Always check the condition of the track before inserting a new seal. Bent or rusty tracks can make installation difficult.
- If your garage floor is uneven, consider using a threshold seal or a U-shaped seal for better coverage.
- Schedule garage door seal replacement before the peak of summer or winter for optimal insulation benefits.
How Often Should You Replace a Garage Door Seal?
A garage door seal typically lasts anywhere from 3 to 5 years, depending on exposure to the elements, frequency of use, and material quality. Signs that it’s time for a replacement include visible cracks, flattening, brittleness, or noticeable drafts and water inside the garage after rain. Regular inspections and seasonal maintenance can extend the seal’s life and help you spot damage early.
Final Thoughts
Having the right tools to replace your garage door seal is essential for a quick, efficient, and lasting installation. Whether you’re dealing with a worn-out bottom seal or upgrading for better insulation, being prepared with the correct equipment ensures that the process is smooth and successful.
By maintaining your garage door weather seal, you protect your home from outside elements, reduce energy loss, and keep your garage cleaner and more secure. So next time you notice a draft or water seeping in, don’t delay—grab your tools and replace that seal before it leads to bigger problems.