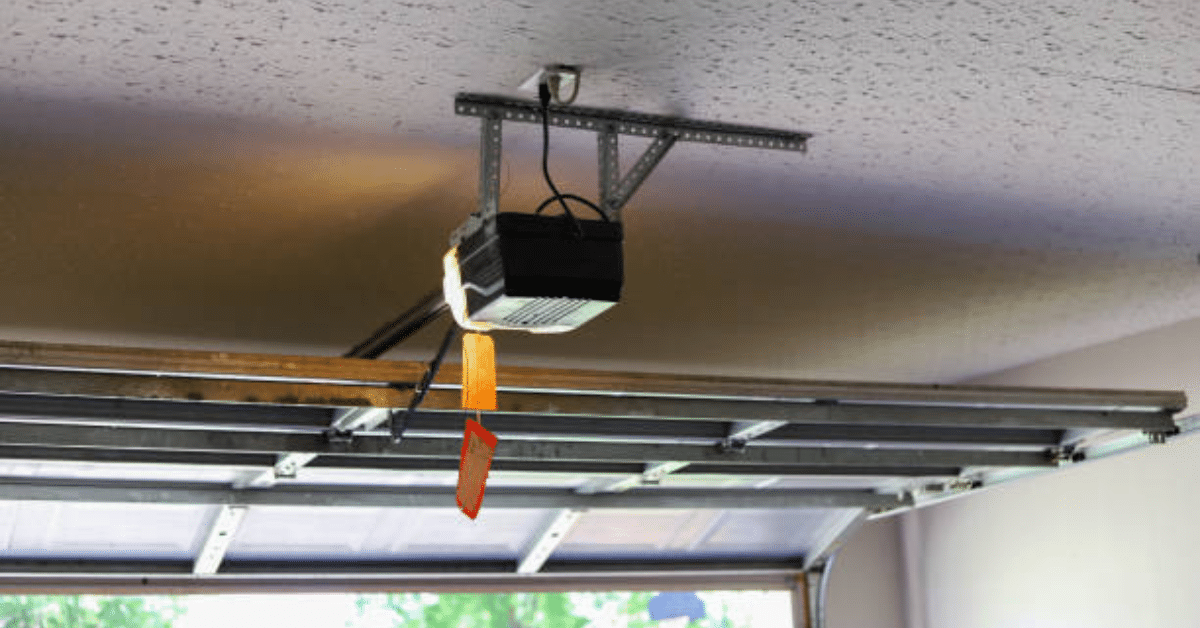
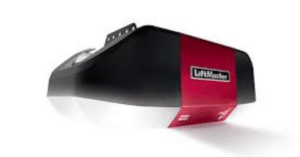
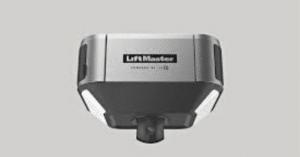
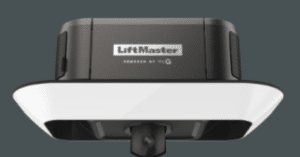
Is your garage door opener unresponsive, noisy, or simply not doing its job? These are signs that it’s time to replace garage door motor. While it might seem like a job only for professionals, with the right guidance, it’s entirely possible to handle it yourself.
This step-by-step guide will walk you through everything you need to know—from recognizing the signs of motor failure to installing a brand-new unit. With a little time, a few tools, and a focus on safety, you can restore your garage door to perfect working condition.
Why Replace a Garage Door Motor?
Your garage door motor is the heart of the entire system. When it begins to fail, the door may open slowly, make strange noises, or not respond at all. These problems often escalate if ignored, affecting other parts like sensors or remotes.
Most motors are built to last between 10 to 15 years, but frequent use, lack of maintenance, and environmental factors can shorten their lifespan. Replacing a failing motor not only restores functionality but can also give you access to modern features like smart home integration, quieter operation, and enhanced security.
How to Know When It’s Time
You should consider replacing your garage door motor if:
- The motor is making loud humming or grinding sounds.
- The door doesn’t open or close completely.
- The remote or wall switch no longer activates the motor.
- You’ve had to make multiple repairs over a short period.
- Your opener lacks safety features or smart technology.
If you’re facing any of these issues, replacing the motor is a smart and often cost-effective decision.
What You’ll Need
Before beginning the process to replace the garage door motor, gather the necessary tools and parts. This will help you work efficiently and safely:
- A new, compatible garage door motor or opener unit
- Screwdrivers and an adjustable wrench
- Power drill with various bits
- Stepladder
- Safety gloves and glasses
- Level for proper alignment
Also, make sure to read the manual that comes with your new unit. Each brand may have specific requirements or setup steps.
Safety Comes First
Working with garage doors involves dealing with heavy parts and electrical components. Start by disconnecting power to the opener. Unplug the unit and ensure there’s no active power source before touching any wiring. It’s also a good idea to lock the garage door in place to prevent it from moving unexpectedly during installation.
Avoid tampering with the torsion springs or cables—they’re under high tension and can be dangerous if mishandled. If your replacement job involves spring issues, it’s better to call a professional.
Step-by-Step: How to Replace Garage Door Motor
1. Remove the Old Motor
Begin by carefully disconnecting the power. Detach the wall-mounted control wires and sensor cables from the motor unit. Once everything is free, unbolt the motor from its ceiling mount. This is usually easier with an extra pair of hands, as the unit can be heavy.
Next, remove the rail or trolley system connected to the garage door. Keep all hardware in case you need it for the new motor.
2. Prepare the New Motor
Unpack the new unit and lay out all its components. Assemble the rail if required, and follow the manufacturer’s setup instructions closely. Some newer models come with pre-assembled parts, making this process much faster.
Make sure to align everything correctly, as improper setup can lead to functional issues once the unit is mounted.
3. Install the New Motor Unit
With your stepladder in place, lift the new motor and attach it to the ceiling bracket. Use a level to ensure it’s perfectly horizontal. A crooked motor can lead to unnecessary stress on your garage door system.
Once the unit is secure, connect the rail to the wall bracket above your garage door. This part of the setup should be tight and stable, as it directly controls the movement of the door.
4. Reconnect Wiring and Sensors
Reconnect all the wires to the terminal screws on the new motor. Most units will have labeled ports for wall controls, power supply, and safety sensors. Install the sensors on both sides of the garage door, typically 6 inches above ground level, and make sure they’re properly aligned—indicator lights should be solid and not blinking.
If your motor supports wireless remotes or keypads, now is the time to pair them using the learn button on the motor.
5. Power and Test the Unit
Once everything is connected and secured, plug the unit back in and restore power. Use the wall button or remote to test the door. It should open and close smoothly without hesitation.
If your door opens too far or not enough, adjust the open/close limits on the motor. Also test the safety sensors—wave something in front of them while the door is closing to see if it auto-reverses.
Common Mistakes to Avoid
Even a straightforward install can go wrong if you’re not careful. Here are a few mistakes that could lead to trouble:
- Skipping the power disconnect: Always unplug the opener before working.
- Ignoring alignment: An uneven motor will put extra strain on the system.
- Wrong sensor positioning: Misaligned sensors will prevent the door from closing.
- Improper mounting: A loose rail or ceiling bracket can cause serious problems during operation.
Taking your time and double-checking each step helps ensure a clean, functional install.
When to Hire a Professional
Not every garage door motor replacement can or should be done alone. If you’re uncomfortable handling electrical components or heavy lifting, it’s best to hire a technician. You should also seek professional help if your system involves high-tension springs, chain repairs, or advanced home automation features.
Professional installation guarantees correct setup, safety, and often includes a warranty on the work performed.
Maintaining Your New Garage Door Motor
Once your new motor is installed, regular maintenance is essential. Keep tracks clean, lubricate moving parts annually, and check sensor alignment every few months. Also, consider upgrading your wall controls or remotes for enhanced security and ease of use.
If your opener is Wi-Fi–enabled, be sure to keep the app updated and review automation settings to avoid accidental openings.
Final Thoughts
Learning how to replace garage door motor can save you both money and time, especially when the issue is clear and straightforward. With a little patience and the right steps, even homeowners with basic DIY skills can handle this project successfully.
Replacing your garage door motor doesn’t just fix a broken part—it can improve the safety, convenience, and functionality of your entire garage system. From smoother operation to smart features and better security, a new motor is a smart investment in your home.
So if your old motor has given up or you’re just ready for an upgrade, use this guide to tackle the job with confidence.

