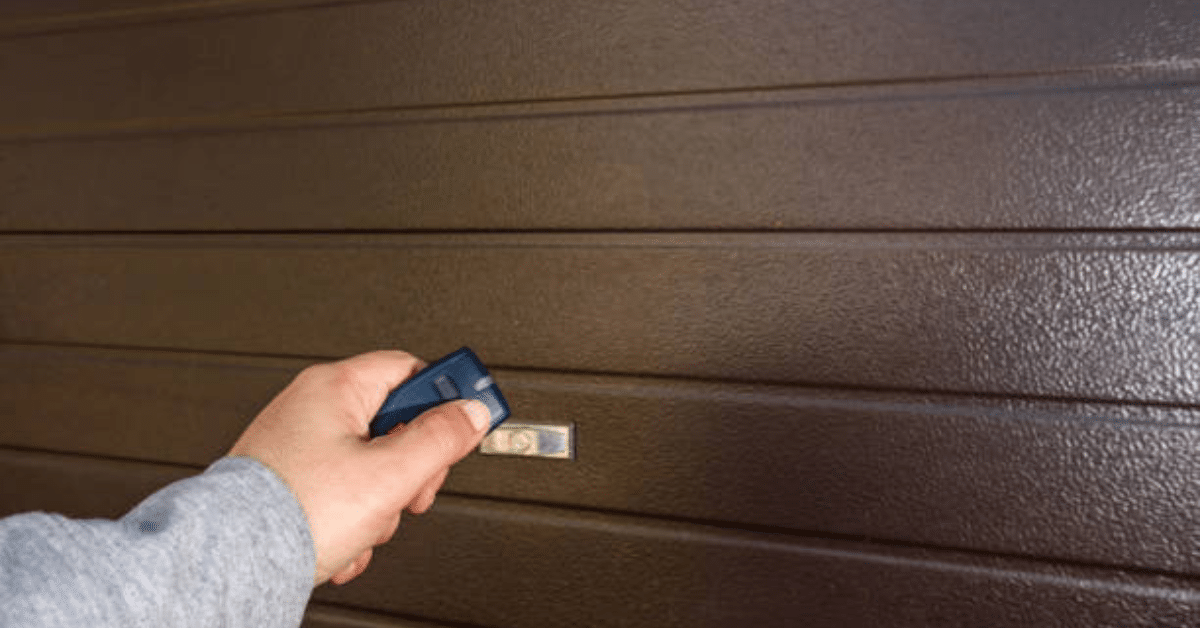
Programming your garage door remote may sound technical, but learning how to program Clicker garage door opener is easier than you think. Whether you’ve just purchased a new Clicker remote or need to reprogram it after a battery change, this guide will walk you through the process step by step.
With the right approach, you can avoid costly technician fees and gain control over your garage access in just a few minutes.
Why Learn How to Program Clicker Garage Door Opener?
Before diving into the programming process, it’s helpful to understand why this task is worth learning:
- Cost-Effective: No need to call a technician.
- Convenient: Easily pair your remote with one or multiple garage door openers.
- Secure: Resetting and reprogramming clears old codes, improving security.
Whether you use the Clicker KLIK1U, KLIK3U, or any universal model, programming remains fairly straightforward.
Tools and Information You’ll Need
Before you start learning how to program Clicker garage door opener, gather the following tools and details:
- Your Clicker remote (KLIK1U, KLIK3U, or model-specific)
- Ladder (if your garage motor unit is mounted high)
- Access to your garage door opener’s Learn button
- Knowledge of your garage door brand (e.g., Chamberlain, LiftMaster, Craftsman)
Knowing the garage door brand helps determine the correct programming steps and compatible remote codes.
Safety Tips Before Programming
Your safety should come first when attempting any garage door programming:
- Disconnect power before working near wiring.
- Avoid metal ladders, especially near openers.
- Keep children and pets at a safe distance.
- Have a flashlight handy if the motor unit is poorly lit.
Following these precautions ensures you’ll program your remote securely and without risk.
Step-by-Step Guide: How to Program Clicker Garage Door Opener
Now let’s dive into the actual procedure. The method slightly varies depending on the garage door opener brand, but the core process is similar.
Step 1 – Locate the “Learn” Button on the Garage Motor Unit
- The Learn button is typically on the back or side of the opener motor.
- You may need to remove a light cover to access it.
- The button is often yellow, purple, red, or green, depending on the brand.
This button activates the opener’s programming mode.
Step 2 – Clear Previous Codes (Optional)
If your Clicker remote has been used before, it’s wise to clear any old programming:
- Press and hold both remote buttons simultaneously.
- Wait until the LED stops blinking (about 10–20 seconds).
- Release both buttons.
This resets the remote for fresh programming.
Step 3 – Program the Remote
Now you’re ready to program the Clicker remote to your garage door opener:
- Press and release the Learn button on your garage door opener.
- An LED will light up or start blinking, indicating programming mode.
- An LED will light up or start blinking, indicating programming mode.
- Within 30 seconds, press and hold the desired button on your Clicker remote.
- Release the button once the garage door moves or the opener lights blink.
Congratulations! You’ve successfully programmed your Clicker garage door opener.
Programming Clicker Garage Door Opener for Specific Brands
Programming may differ slightly based on the brand of your garage door opener. Here’s how to adapt:
Chamberlain, LiftMaster, or Craftsman
- These brands often use the same code protocols.
- Locate the Learn button (usually yellow or purple).
- Follow the standard process mentioned above.
Genie Garage Door Openers
- Press the Learn Code button on the Genie unit.
- The LED will blink red.
- Press the Clicker button three times until the door activates.
Linear or Stanley Openers
- Some models require holding the Clicker button for longer intervals.
- Make sure to consult the Clicker manual if your garage door doesn’t respond right away.
Understanding how to program Clicker garage door opener for various brands saves you trial-and-error time.
How to Add a Second Garage Door to Clicker Remote
Clicker remotes usually come with two buttons, which lets you control multiple garage doors:
- Repeat the same programming steps for the second button.
- Make sure you’re pressing the correct button for each door.
- Label the buttons if needed to avoid confusion.
This dual functionality adds convenience, especially for homes with two garage bays.
Troubleshooting Tips for Programming Issues
If your Clicker remote isn’t working, try these solutions:
Remote Doesn’t Respond
- Check and replace the battery.
- Re-check if you used the right Learn button.
- Reprogram by clearing previous settings and starting over.
Door Doesn’t Open Fully
- Adjust the opener’s travel limits.
- Ensure there are no obstructions in the door track.
Signal Interference
- Avoid placing metal objects near the motor unit.
- Ensure the opener’s antenna is hanging down freely.
These fixes can resolve common issues and restore full functionality.
Maintenance Tips After Programming Clicker Garage Door Opener
After you’ve learned how to program Clicker garage door opener, regular maintenance ensures lasting performance:
- Test the remote monthly to ensure consistent operation.
- Replace the battery every 12 months or sooner if needed.
- Keep the remote clean and dry to avoid malfunction.
- Inspect the garage door mechanism for wear and tear.
A little upkeep goes a long way toward preserving your Clicker remote’s performance.
FAQs About Programming Clicker Garage Door Opener
Q : How long does it take to program a Clicker garage door opener?
A: Usually 2–5 minutes if you have the correct remote and access to the Learn button.
Q : Can I program Clicker remote without a Learn button?
A: No. The Learn button is essential for syncing your remote with the garage door opener.
Q : Is the Clicker remote compatible with all openers?
A: Clicker remotes are universal but may not support very old or non-standard models. Always check compatibility on the packaging or manufacturer’s site.
Final Thoughts
Learning how to program Clicker garage door opener gives you control, security, and convenience. Whether you’re syncing a new remote or replacing an old one, following the proper steps ensures the process is smooth and safe.
This simple DIY task can be completed in minutes and doesn’t require advanced tools. Just follow the instructions, take necessary safety precautions, and enjoy hassle-free garage access.
If you’re facing persistent issues or working with a non-standard opener, consult the official Clicker manual or your garage door manufacturer for model-specific instructions.

