Replacing a garage door spring is an essential part of garage door maintenance that ensures smooth operation and extends the life of your door system. Whether your home uses a torsion spring or extension spring, this guide will walk you through the process safely and efficiently. Follow these steps to replace garage door springs like a pro, improve your curb appeal, and keep your family safe.
Why Replace Garage Door Springs?
Garage door springs bear the weight of the door, making opening and closing effortless. Over time, these springs lose tension, rust, or break entirely. Signs you need a garage door spring replacement include:
- The door opens unevenly or suddenly drops.
- You hear a loud “bang” when operating the door.
- Visible gaps or wear in the spring coil.
Ignoring a broken spring can lead to further damage, such as bent tracks or a jammed door, and poses serious safety risks.
Types of Garage Door Springs
Understanding the two main types of springs helps you choose the right replacement:
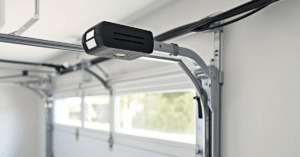
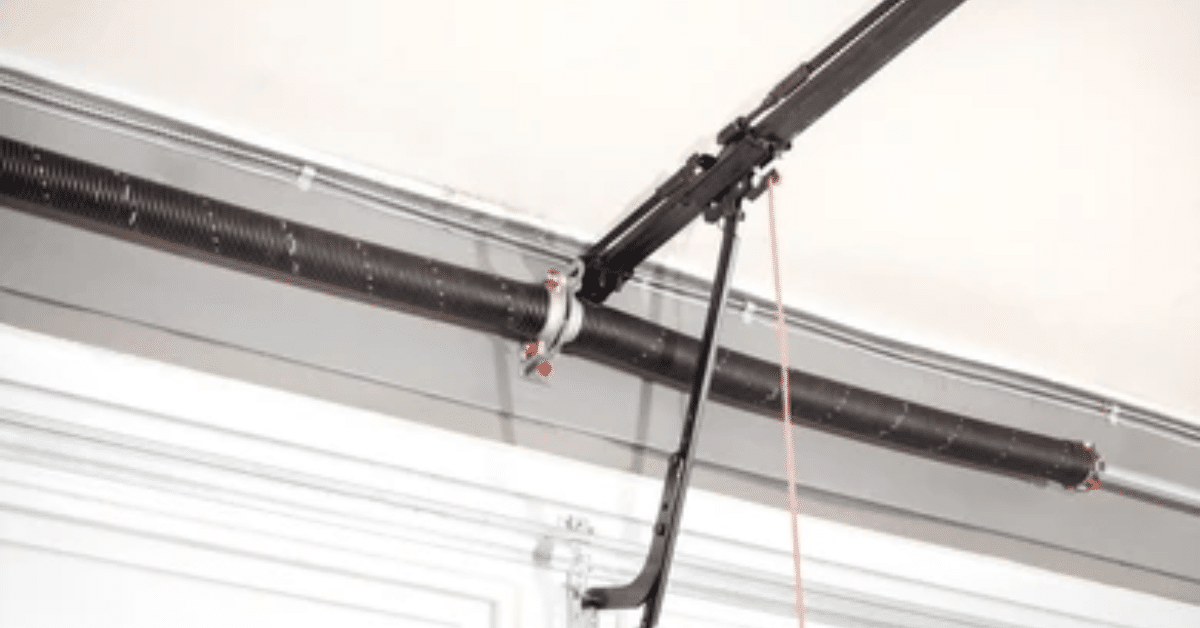
- Torsion Springs
- Mounted above the door.
- Provide a counterbalancing torque to lift the door.
- Require winding with special bars.
- Mounted above the door.
- Extension Springs
- Located on either side of the door.
- Stretch and contract to lift the door.
- Easier for beginners but less durable.
- Located on either side of the door.
Most homeowners prefer torsion spring replacement for longevity and smoother operation, though extension spring garage door systems are more DIY-friendly.
Tools and Materials You’ll Need
Before starting, gather the following tools and parts:
- Replacement spring(s) matching your door’s weight and height.
- Two winding bars (for torsion springs).
- Adjustable wrench set.
- Vice grips or C-clamps (to secure the door).
- Safety goggles and gloves.
- Stepladder.
Having the right garage door spring replacement kit ensures a hassle-free process and reduces the risk of mistakes.
Safety Precautions
Garage door springs are under extreme tension and can cause injury if mishandled. Always:
- Disconnect the garage door opener.
- Secure the door in the closed position with clamps.
- Wear protective gear.
- Never use screwdrivers or pry bars to wind springs.
Taking these safety steps helps you avoid accidents and complete the job confidently.
Step 1: Measure Your Existing Springs
Accurate measurements are crucial. Note the following:
- Spring length when relaxed (not under tension).
- Wire diameter.
- Inside diameter of the coil.
- Color code or stamped identification.
These measurements help you purchase the correct door spring replacement and avoid returns or mismatches.
Step 2: Secure the Door
- Close the door fully.
- Lock the trolley on the opener rail (if equipped).
- Place C-clamps or vice grips beneath the bottom rollers to prevent the door from moving.
Securing the door removes tension from the springs and prevents accidental slippage.
Step 3: Remove the Old Springs
For Torsion Springs:
- Loosen the set screws on the winding cone using an adjustable wrench.
- Carefully unwind the spring one quarter-turn at a time with winding bars.
- Once tension is released, remove the center bearing plate and slide out the spring.
For Extension Springs:
- Release tension by pulling the safety cable or detaching the spring from the track bracket.
- Remove the spring and pulley assembly.
Properly discarding old springs prevents injuries from hidden tension left in coils.
Step 4: Install the New Springs
Torsion Spring Installation:
- Slide the new spring onto the torsion tube, ensuring the stationary cone is against the center bracket.
- Attach the winding cone on the opposite end without tightening set screws yet.
- Secure the center plate and bearings.
- Wind the spring using winding bars: typically 30 quarter-turns for a standard residential door, but follow manufacturer instructions.
- Tighten the set screws firmly.
Extension Spring Installation:
- Hook the new spring to the track bracket.
- Attach the pulley and cable assembly.
- Stretch the spring gently until it aligns with the end bracket.
Correct winding and mounting guarantee balanced door movement.
Step 5: Test and Adjust
- Remove clamps and slowly lift the door manually.
- It should open and close smoothly with minimal effort.
- If the door is too heavy or too light, adjust spring tension:
- For torsion springs, add or remove quarter-turns.
- For extension springs, adjust the hook position on the track bracket.
- For torsion springs, add or remove quarter-turns.
Fine-tuning tension ensures the door stays in place when partially open and extends spring lifespan.
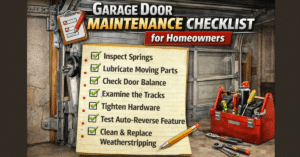
Maintenance Tips for Long-Lasting Springs
- Lubricate monthly with a silicone-based spray.
- Inspect regularly for signs of wear or corrosion.
- Balance test: disconnect the opener, lift the door halfway; it should stay put.
Routine garage door spring maintenance prevents sudden failures and saves on repair costs.
When to Call a Professional
While many homeowners successfully handle spring replacement, consider hiring a pro if:
- You’re unsure about measurements.
- Springs show signs of metal fatigue or rust beyond coils.
- You lack the right winding tools.
Professional installation may cost more upfront but ensures safety and warranty coverage.
Conclusion
Replacing garage door springs is manageable with the right tools, careful measurements, and strict safety measures. Whether you’re tackling a torsion spring replacement or switching out extension springs, this guide helps you complete the task in one afternoon. Remember to perform routine maintenance, adjust tensions properly, and only attempt DIY replacement if you’re confident. A well-maintained garage door not only enhances home security but also operates smoothly for years to come.