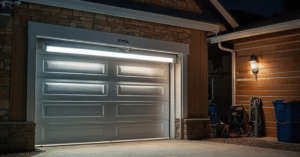
Garage door sensors play a crucial role in keeping your home safe by preventing accidents and ensuring smooth, reliable door movement. These small yet essential devices detect obstacles in the door’s path and immediately stop or reverse its motion, protecting your car, pets, and family members from potential harm. However, when these sensors malfunction, your garage door may stop responding correctly, refuse to close, or even reverse unexpectedly — all signs that it’s time for a replacement.
Learning how to replace garage door sensors can save you both time and money while restoring your door’s functionality. Fortunately, the process is much easier than most homeowners think. With a few basic tools, a little patience, and the right step-by-step approach, you can remove the old sensors and install new ones safely within an hour. Whether your sensors are damaged due to age, misalignment, or wiring issues, this guide will walk you through every step to ensure your garage door works smoothly and safely again.
Why Garage Door Sensors Matter
Before you start, it’s important to understand why these sensors are so essential. They detect obstacles in the door’s path and stop it from closing, avoiding potential injuries or damage. Over time, sensors may misalign, wear out, or get damaged due to dirt, vibration, or exposure to sunlight. Learning how to replace garage door sensors ensures your door stays reliable and safe for everyday use.
Tools and Materials You’ll Need
To make the replacement process easier, gather the following tools before starting:
- New garage door sensors (compatible with your model)
- Screwdriver set
- Adjustable wrench
- Wire cutters and strippers
- Level
- Mounting brackets (if needed)
- Electrical tape
Having everything ready helps you finish the task efficiently and without interruptions.
Step-by-Step Guide on How to Replace Garage Door Sensors
Step 1: Disconnect the Power Supply
Safety first — unplug your garage door opener from the power outlet. This step prevents accidental activation while working on the sensors.
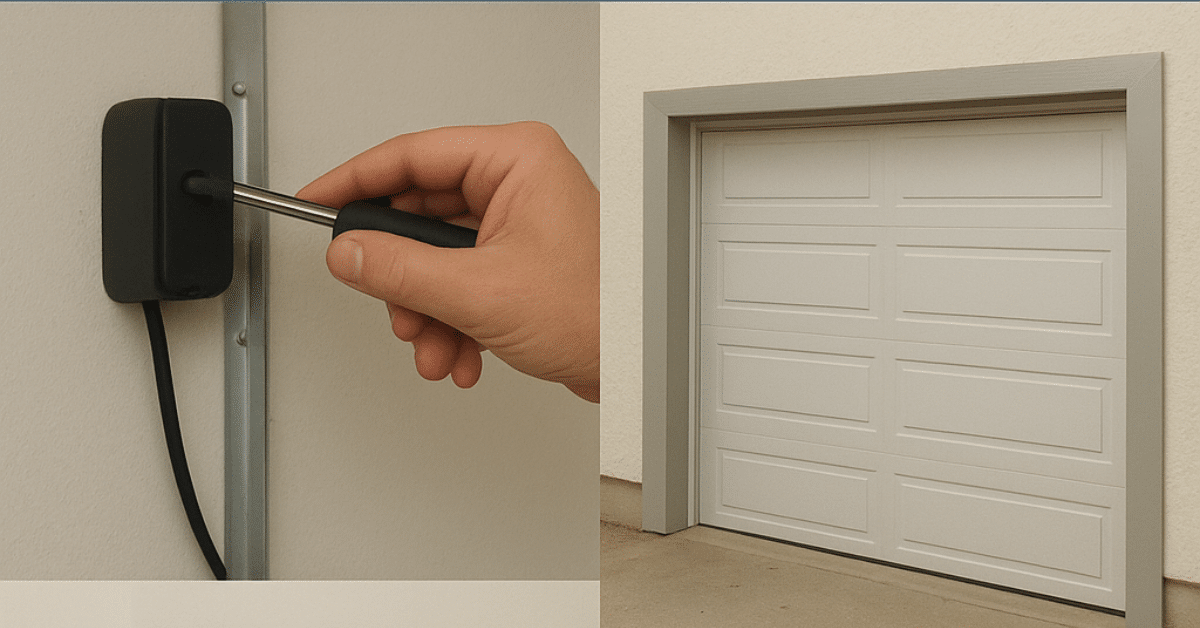
Step 2: Remove the Old Sensors
Locate the sensors near the bottom of the garage door tracks. Unscrew them carefully and disconnect the attached wires. Label each wire if necessary to make reconnection easier later.
Step 3: Install the New Sensors
Attach the new sensors to the same brackets or use new ones if the old ones are damaged. Make sure both sensors are at the same height on each side of the door.
Step 4: Connect the Wiring
Match the wires from the new sensors to the corresponding terminals of the garage door opener. Strip about half an inch of insulation, twist the wires together, and secure them using wire connectors or electrical tape.
Step 5: Align the Sensors
Use a level to ensure both sensors are facing each other directly. Misalignment is the most common reason sensors malfunction. Many sensors have small LED indicators that light up when aligned correctly.
Step 6: Test the Sensors
Once everything is connected, plug the opener back in and test the door. Place an object in the door’s path — the sensors should detect it and prevent the door from closing. If they don’t, recheck the alignment and wiring connections.
Common Problems After Replacement
Even after you’ve learned how to replace garage door sensors, you might face some common issues:
- Blinking lights: Usually mean the sensors are misaligned or blocked.
- Door not closing: Check for loose wiring or dirt on the sensor lenses.
- Intermittent operation: Could be caused by sunlight interference or vibration from the door tracks.
Regularly cleaning the sensors and checking their brackets keeps them in good condition.
Tips to Maintain Garage Door Sensors
- Keep the sensor lenses clean from dust and debris.
- Make sure wiring is secure and protected from moisture.
- Check alignment monthly, especially if your garage experiences frequent vibration.
- Avoid painting or covering the sensors, as it may block the infrared signal.
Simple maintenance helps extend the lifespan of your sensors and prevents costly repairs in the long run.
When to Call a Professional
If replacing the sensors doesn’t fix your garage door issues or if you notice electrical faults, it’s best to contact a professional technician. While DIY replacement is safe and easy for most homeowners, complex wiring problems or damaged circuits require expert handling.
Final Thoughts
Learning how to replace garage door sensors is a simple and rewarding task that ensures your garage door remains safe, efficient, and functional. By following this guide carefully, you can restore your system’s performance and avoid unnecessary service costs. Regular maintenance and timely replacements will keep your automated door working flawlessly for years to come.