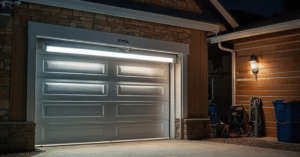
A garage door opener offers unmatched convenience and security, allowing you to open and close your garage with just the press of a button. However, when your remote suddenly stops responding or works only intermittently, it can be frustrating—especially when you’re in a hurry or facing bad weather. In most cases, the problem is as simple as a weak or dead battery.
Learning how to replace a battery in a garage door opener not only saves you time and money but also ensures your system keeps running smoothly without interruptions. The process is quick, straightforward, and requires no technical expertise—just a few basic tools and a couple of minutes. Whether you’re a homeowner looking to handle small fixes yourself or someone maintaining multiple remotes, replacing the battery is one of the easiest and most effective maintenance steps you can take to keep your garage door functioning reliably every day.
Why Battery Replacement Matters
Your garage door remote relies on a small battery to send signals to the opener. When that power source weakens, you may notice the remote working inconsistently or only when standing close to the door. Replacing the battery promptly ensures reliable performance and prevents being locked out unexpectedly.
Tools You’ll Need
Before learning how to replace a battery in a garage door opener, gather these simple items:
- A small screwdriver (usually Phillips or flathead)
- The correct replacement battery (commonly CR2032, CR2025, or 12V)
- A clean cloth or tissue to handle the new battery
Having these ready makes the process smooth and efficient.
Step-by-Step Guide on How to Replace a Battery in a Garage Door Opener
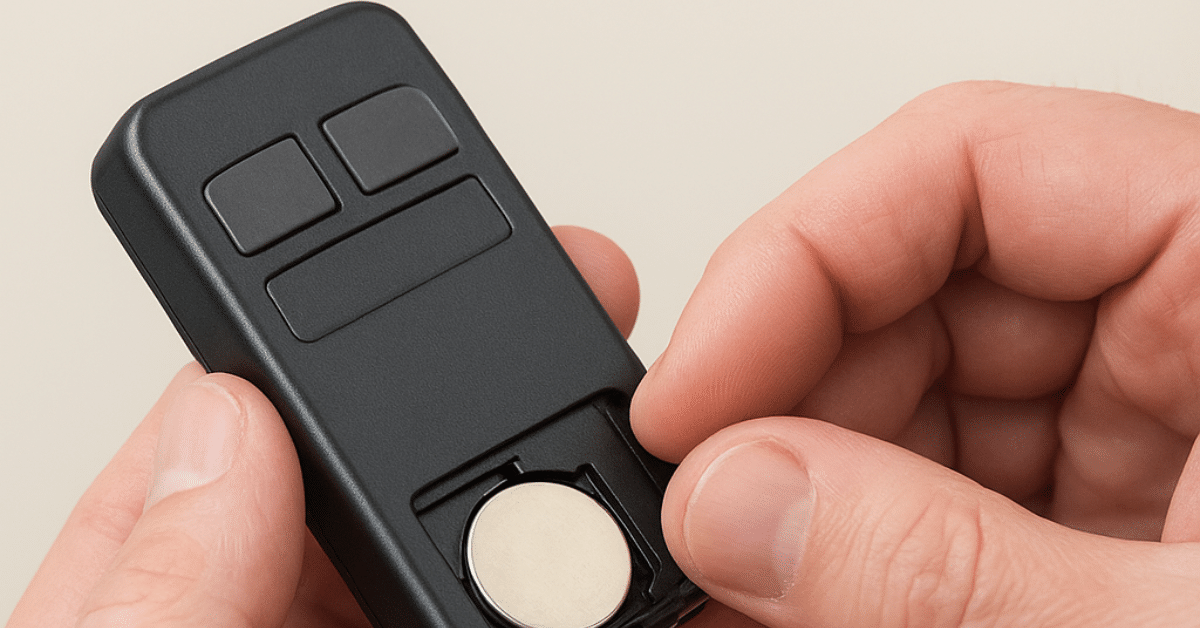
Step 1: Locate the Battery Compartment
Start by examining your garage door remote. Most remotes have a small compartment on the back or bottom. You might need to remove a single screw or gently slide off a panel to access it.
Step 2: Remove the Old Battery
Once the cover is off, carefully remove the old battery. Take note of its orientation (positive and negative sides), as the new one must go in the same direction.
Step 3: Insert the New Battery
Using a clean cloth, insert the new battery, matching the correct polarity. Avoid touching the battery surface with your fingers to prevent residue buildup.
Step 4: Reassemble the Remote
Close the battery compartment securely. If it uses screws, tighten them gently to avoid damaging the casing.
Step 5: Test Your Remote
Stand a few feet from your garage door and press the open/close button. If the door responds instantly, the new battery is working perfectly.
When to Replace the Battery in a Garage Door Opener
Generally, the remote battery lasts between one to two years. However, frequent use, extreme temperatures, or poor battery quality can shorten its lifespan. If you notice slower response times, reduced range, or inconsistent performance, it’s a clear sign to replace it.
Tips for Longer Battery Life
To extend your garage door remote’s battery life:
- Use high-quality, brand-name batteries.
- Keep your remote clean and dry.
- Avoid storing it in hot or humid areas.
- Replace all batteries in multi-remote systems simultaneously for consistent performance.
These small steps ensure your remote stays reliable for longer periods.
Troubleshooting After Battery Replacement
If your remote still doesn’t work after learning how to replace a battery in a garage door opener, try these quick fixes:
- Check that the battery is inserted correctly.
- Make sure the contacts inside the remote are clean and free of corrosion.
- Reprogram the remote if it lost its connection to the opener.
- Replace the battery again if it’s old or defective.
If problems persist, the issue might lie with the opener unit rather than the remote.
Conclusion
Knowing how to replace a battery in a garage door opener is an easy, time-saving skill every homeowner should have. With just a few tools and simple steps, you can restore full functionality to your garage door remote and avoid unnecessary repair calls. Regular battery checks and timely replacements keep your system operating smoothly year-round.
FAQs
Q1. How often should I replace my garage door remote battery?
A: Most batteries last 1–2 years, but it’s best to replace them annually for consistent performance.
Q2. What type of battery does a garage door opener remote use?
A: Most use coin-cell batteries like CR2032 or small 12V types—check your remote’s manual to confirm.
Q3. Why isn’t my garage door remote working after replacing the battery?
A: Ensure the battery is installed correctly, the contacts are clean, and the remote is properly synced with the opener.
Q4. Can I use rechargeable batteries in my garage door remote?
A: It’s not recommended, as rechargeable batteries often provide lower voltage than standard alkaline or lithium ones.
Q5. Do wall-mounted garage door openers have backup batteries too?
A: Yes, many models include backup batteries to operate during power outages. These should be replaced every 2–3 years.