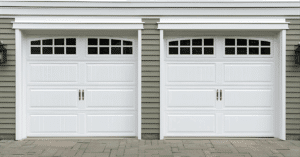
A garage door’s bottom seal is more important than many homeowners realize. It acts as the first line of defense against dust, pests, water, and drafts, helping to keep your garage cleaner and more comfortable. A well-fitted seal also improves insulation, which can reduce energy costs and protect your garage floor from weather damage. Over time, however, seals can wear out—they may crack, flatten, or even go missing altogether. When this happens, you may notice cold air sneaking in during winter, rainwater pooling inside, or unwanted insects making their way into your garage. That’s why timely replacement is essential. Installing a new seal not only restores protection but also extends the overall life of your garage door system. In this step-by-step guide, we’ll show you how to install Wayne Dalton garage door bottom seals to improve security, improve energy efficiency, and maintain the long-term performance of your garage door.
Why Replacing the Bottom Seal Matters
Garage door bottom seals wear out over time due to constant contact with concrete, extreme weather, and daily use. A worn seal can lead to:
- Energy loss from drafts.
- Water leaks during heavy rain.
- Entry of pests, rodents, and insects.
- Visible gaps that compromise garage security.
Replacing the bottom seal on your Wayne Dalton garage door is a cost-effective way to solve these issues quickly.
Tools and Materials You’ll Need
Before starting, gather the right tools and materials. To install a Wayne Dalton garage door bottom seal, you’ll need:
- Replacement bottom seal (specific to Wayne Dalton models).
- Utility knife or scissors.
- Measuring tape.
- Screwdriver or drill.
- Silicone spray or mild soap for lubrication.
- Step ladder (if necessary).
Having everything ready makes installation smoother and prevents mid-task delays.
Step-by-Step Guide: How to Install Wayne Dalton Garage Door Bottom Seal
Step 1: Prepare the Garage Door
Close the garage door fully and disconnect the opener for safety. This ensures the door doesn’t move while you’re working.
Step 2: Remove the Old Bottom Seal
Locate the ends of the seal and pull them out of the retainer track at the bottom of the door. If it’s stuck, use pliers or a flathead screwdriver. Cut the seal into sections if it’s too brittle to remove in one piece.
Step 3: Clean the Retainer Track
Dirt and debris often build up inside the track. Use a brush, damp cloth, or compressed air to clear it. A clean track makes sliding the new seal much easier.
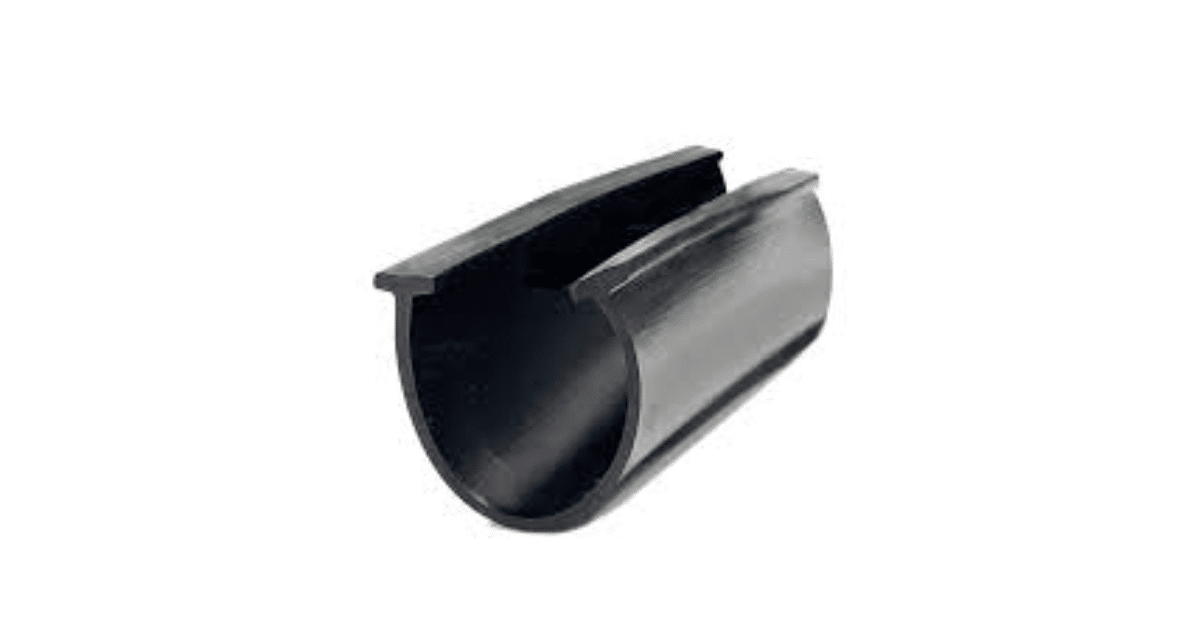
Step 4: Measure and Cut the New Seal
Unroll the new Wayne Dalton garage door bottom seal and measure it against your door’s width. Cut it to size using scissors or a utility knife, leaving an extra inch for adjustments.
Step 5: Insert the New Seal
Spray silicone lubricant or apply mild soapy water along the track. Insert one end of the seal into the retainer’s slot and carefully slide it across. This step may require patience, as the material is designed to fit tightly.
Step 6: Secure the Ends
Once the seal is fully inserted, trim any excess length. Fold or tuck the ends securely into the track to prevent them from slipping out.
Step 7: Test the Seal
Reconnect your garage door opener and close the door. Inspect the bottom for gaps and check that the seal compresses evenly against the floor. If gaps remain, adjust by shifting the seal slightly or re-cutting the ends.
Common Mistakes to Avoid
While learning how to install Wayne Dalton garage door bottom seal, many homeowners run into avoidable problems:
- Skipping the cleaning step: Dirt can prevent the seal from sliding smoothly.
- Cutting the seal too short: Always measure twice before cutting.
- Forgetting lubrication: Dry tracks make installation difficult.
- Ignoring alignment: If the seal is uneven, it won’t block air and water properly.
Signs It’s Time to Replace Your Seal
- Visible cracks or splits in the rubber.
- Drafts or water seeping into the garage.
- Increased energy bills due to poor insulation.
- Light visible under the garage door when closed.
If you notice these issues, don’t delay replacement. A new seal quickly restores protection.
Benefits of Installing a New Bottom Seal
- Improved Insulation: Keeps your garage warmer in winter and cooler in summer.
- Pest Prevention: Blocks insects and small rodents.
- Water Protection: Prevents leaks and floor damage.
- Enhanced Door Life: Reduces wear on the door and opener by ensuring smooth operation.
Maintenance Tips After Installation
- Check Annually: Inspect the seal for wear every 12 months.
- Clean Regularly: Wipe dirt and debris from the track.
- Lubricate: Apply silicone spray occasionally to keep the rubber flexible.
- Avoid Chemicals: Don’t use harsh cleaners that may damage the seal.
FAQs About Installing Wayne Dalton Garage Door Bottom Seal
Q1: How often should I replace the bottom seal?
A: Most seals last 3–5 years, depending on climate and garage use.
Q2: Can I install the bottom seal without removing the door?
A: Yes, the replacement can be done with the door closed, making it a safe DIY project.
Q3: Are Wayne Dalton bottom seals universal?
A: No, always choose a seal compatible with your Wayne Dalton model for a proper fit.
Q4: Do I need professional help for installation?
A: Most homeowners can handle it themselves, but if the retainer track is damaged, a professional may be needed.
Conclusion
Knowing how to install Wayne Dalton garage door bottom seal ensures your garage stays protected from drafts, pests, and moisture while improving energy efficiency. With the right tools, proper preparation, and careful installation, replacing your garage door seal is a straightforward DIY project. By following this guide, you’ll restore your garage’s comfort, enhance your home’s security, and extend the life of your garage door system.