Garage doors play a vital role in home security and convenience, but when the springs lose tension, you may face difficulties in opening and closing them. If you own a Wayne Dalton door, you likely have the TorqueMaster spring system, which is quite different from traditional torsion or extension springs. Knowing how to adjust a Wayne Dalton TorqueMaster spring can save you both time and money, while also extending the life of your garage door. This guide will walk you through everything you need to know, from safety measures to step-by-step adjustments.
The Wayne Dalton TorqueMaster System: An Overview
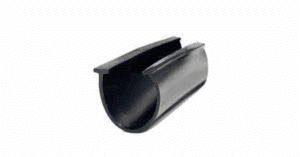
The Wayne Dalton TorqueMaster system is unique because it conceals the springs inside a steel tube, unlike traditional torsion springs that remain exposed. This design improves safety and aesthetics but makes adjustments less straightforward for homeowners.
Why Adjustment is Needed
- Loss of Tension: Over time, springs lose their strength, causing the door to feel heavy.
- Uneven Operation: If your door jerks or doesn’t close properly, the spring tension may need balancing.
- Prevent Damage: Ignoring adjustments may strain the garage door opener and shorten its lifespan.
Safety Precautions Before Adjusting
Working with garage door springs can be dangerous. The TorqueMaster design is safer than exposed torsion springs, but caution is still necessary.
- Wear Safety Gear: Gloves and safety glasses are essential.
- Disconnect Power: Unplug the garage door opener to prevent accidental activation.
- Secure the Door: Ensure the garage door is fully closed before beginning.
Tools You’ll Need
To adjust a Wayne Dalton TorqueMaster spring correctly, gather the following tools:
- Adjustable wrench
- Ladder
- Flathead screwdriver
- Socket set
- Flashlight for visibility
Step-by-Step Guide: How to Adjust a Wayne Dalton TorqueMaster Spring
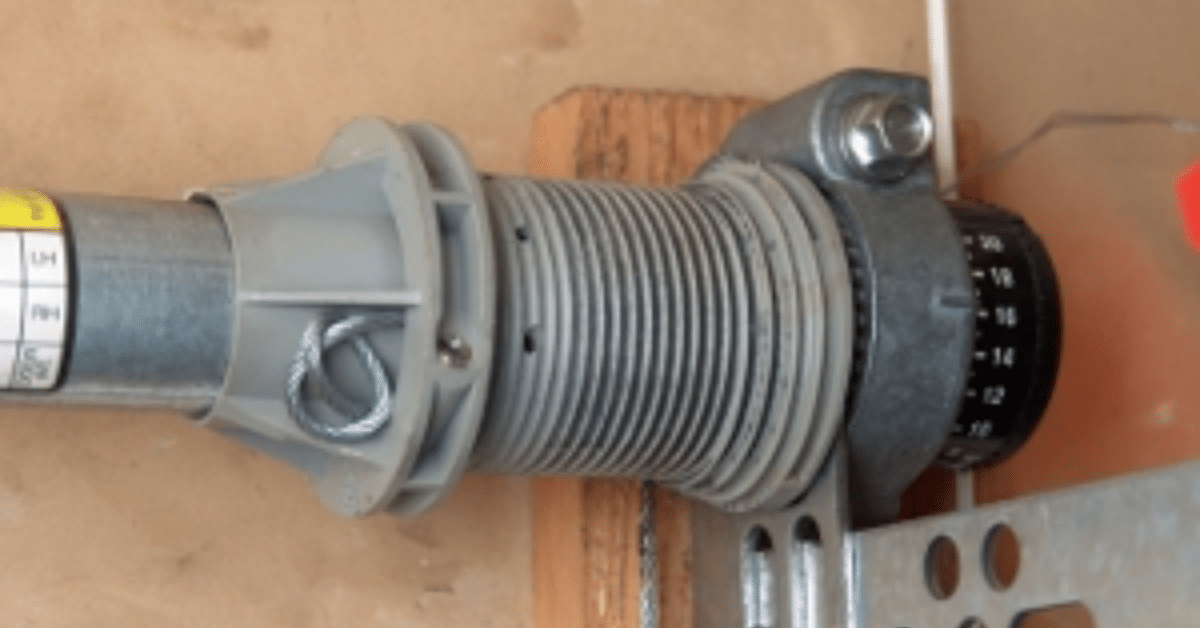
Step 1: Locate the Spring Adjustment Mechanism
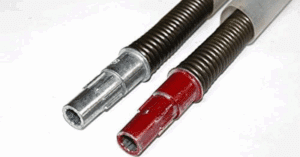
The adjustment mechanism is found on the winding unit at the end of the TorqueMaster tube. Depending on your model, you’ll see a ratcheting system or winding cone.
Step 2: Identify the Type of TorqueMaster System
There are two main versions:
- TorqueMaster I: Uses a ratcheting device for adjustment.
- TorqueMaster II: Uses a winding cone that requires a socket and ratchet.
Understanding your system ensures you use the right adjustment method.
Step 3: Release Spring Tension Safely
Before making adjustments, check how much tension remains in the spring. Slowly loosen the mechanism to release excess tension, but avoid letting it spin freely.
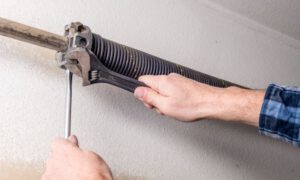
Step 4: Add or Reduce Tension
- For TorqueMaster I, use a socket wrench to turn the adjustment screw. Each full turn equals about one-quarter rotation of tension.
- For TorqueMaster II, insert your socket into the winding bolt and turn clockwise to add tension or counterclockwise to reduce tension.
Step 5: Balance the Door
After adjusting, test the balance by lifting the door manually. A properly adjusted door should stay halfway open without falling. If it drops, add more tension; if it rises too quickly, reduce tension.
Step 6: Reconnect and Test the Opener
Once balanced, reconnect your garage door opener and test the door with power. Check for smooth opening and closing.
Common Mistakes to Avoid
- Over-Tightening: Adding too much tension can strain the spring and opener.
- Ignoring Balance: If the door doesn’t stay in place halfway, the adjustment is incomplete.
- DIY Without Knowledge: If unsure, always call a professional technician.
Signs You Need Professional Help
Sometimes adjustments aren’t enough. Contact a professional if:
- The door feels extremely heavy even after adjustments.
- The springs appear broken inside the tube.
- The winding mechanism won’t respond to adjustments.
Maintenance Tips After Adjustment
Keeping your Wayne Dalton TorqueMaster system in good shape prevents frequent issues:
- Lubricate Moving Parts: Hinges, rollers, and bearings should be lubricated every six months.
- Check Door Balance Regularly: Test balance every 3–4 months.
- Inspect Cables: Ensure cables aren’t fraying or stretched.
Benefits of Adjusting Your TorqueMaster Spring
- Smooth Operation: Prevents jerky movement and noise.
- Extended Lifespan: Proper tension reduces strain on opener parts.
- Safety: A balanced door is less likely to slam shut unexpectedly.
- Cost Savings: Avoids expensive repairs from long-term neglect.
FAQs About Adjusting Wayne Dalton TorqueMaster Springs
Q1: How often should I adjust my TorqueMaster spring?
A: Typically, springs may need adjustment every 2–3 years depending on usage.
Q2: Can I adjust the spring myself or should I hire a pro?
A: If you’re confident with tools and follow safety steps, you can adjust it. Otherwise, hiring a technician is safer.
Q3: How do I know if my spring is broken?
A: If the door feels unusually heavy and adjustments don’t help, the spring inside the tube may be broken.
Final Thoughts
Learning how to adjust a Wayne Dalton TorqueMaster spring helps you maintain your garage door’s safety and performance. By following the step-by-step guide, checking balance, and applying the right tension, you can keep your door working like new. However, always prioritize safety and don’t hesitate to seek professional help when necessary.